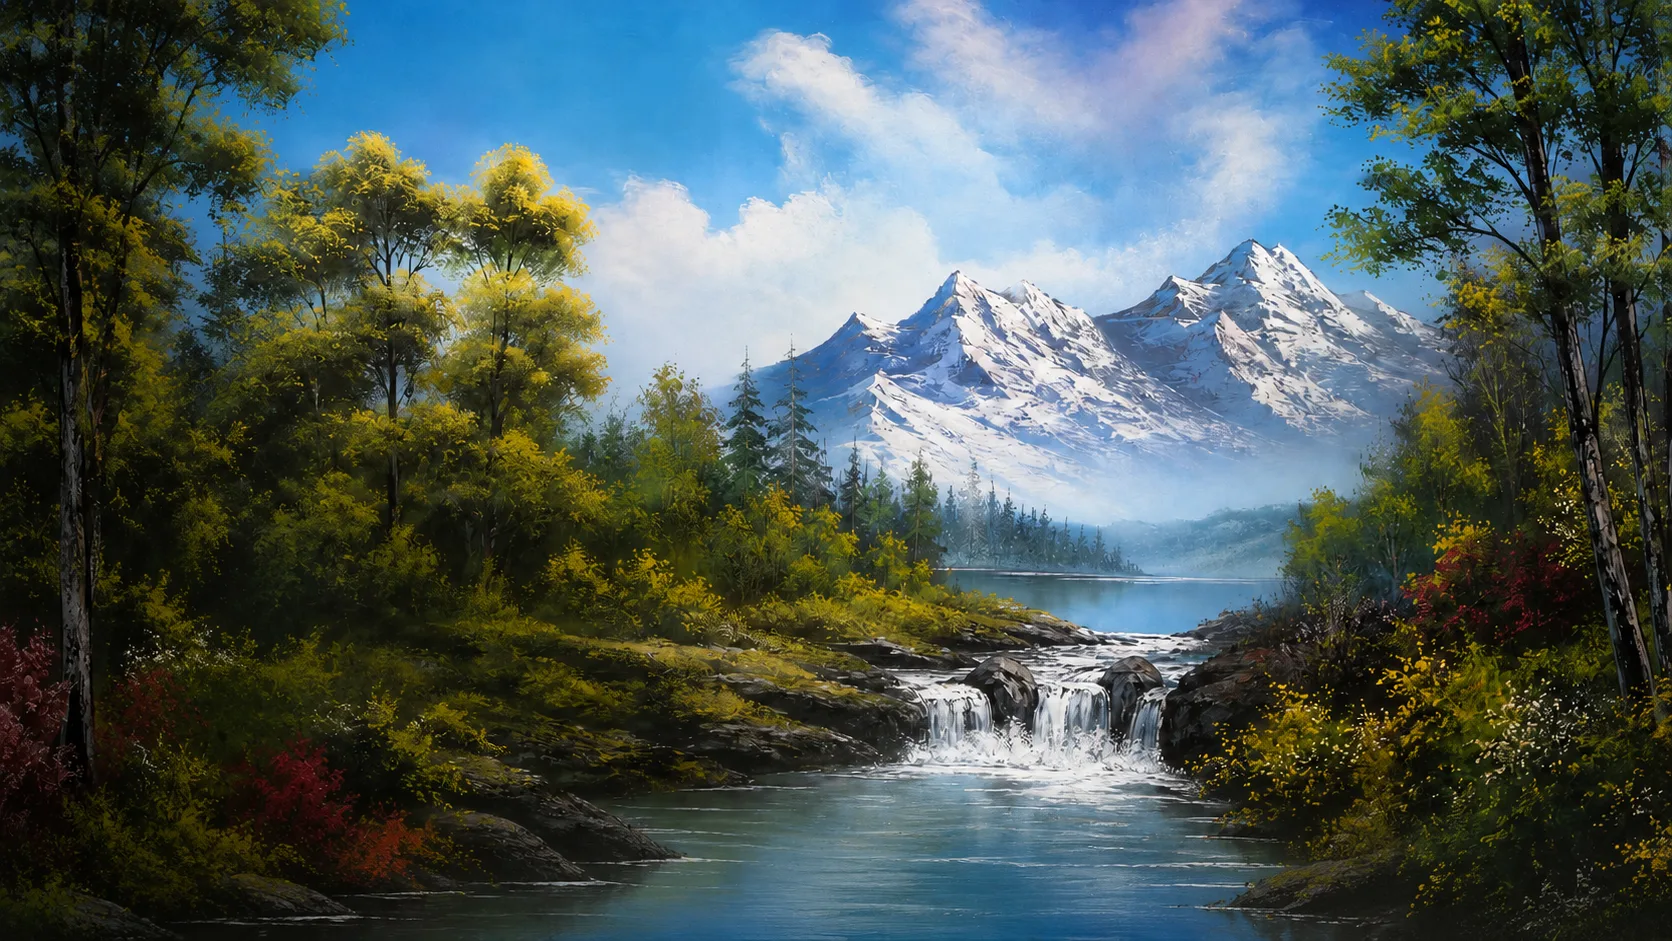
Why Mountains Are So Satisfying to Paint
Of all the elements in a Bob Ross oil painting landscape, mountains are the one that tends to produce the biggest reaction from students. There is something almost magical about watching a realistic, three-dimensional mountain appear on the canvas in a matter of minutes, especially when you are the one making it happen.
The mountain technique relies on the palette knife and is one of the most distinctive aspects of the Bob Ross method. With the right approach, you will find it far more straightforward than it appears.
What You Will Need
Before you start, make sure you have the following to hand:
- A palette knife: The large Bob Ross palette knife with its flexible steel blade and offset handle.
- Titanium White: For highlights and snow.
- A dark mountain colour: Typically a mix of Prussian Blue, Van Dyke Brown, and Alizarin Crimson, or Midnight Black with a touch of Crimson. This creates a deep, neutral dark that reads as shadow.
- A highlight colour: Titanium White with a small amount of the dark mountain colour mixed in, creating a pale grey-blue or grey-lavender. Pure white can look too stark ??? a slightly tinted highlight is more natural.
- A canvas with the sky already painted: Mountains sit against the sky, so your background needs to be in place first. The sky paint should still be wet.
Step One: Creating the Basic Mountain Shape
Load your palette knife by pulling paint flat on your palette, then cutting across it with the knife edge to pick up a thin, even roll of paint along the blade. This roll creates the ridge lines.
Touch the loaded edge to the canvas at the mountain peak. Using firm pressure, pull downward at an angle to create one side, then repeat on the other to form the basic shape. The paint transfers as a narrow, textured line suggesting rocky ridges.
Work down from the peak, creating additional ridges and valleys. Vary angles and lengths to avoid symmetry ??? real mountains are irregular, so let your knife wander.
Filling in the Body
Once you have the ridge lines in place, use the flat of the knife to pull and spread the dark paint across the body of the mountain, filling in the spaces between ridges. You do not need complete, solid coverage ??? some areas can be thinner or show a bit of the sky beneath. This variation adds to the sense of form and texture.
Use the two-inch brush to gently tap along the base of the mountain, blending the lower edge into the sky and landscape below. This creates a soft, atmospheric effect at the base that suggests distance and mist.
Step Two: Adding Highlights
This is where the mountain truly comes to life. Load your palette knife with the highlight colour using the same rolling technique.
First, decide where your light source is. In most Bob Ross paintings, light comes from the upper right or upper left. That side receives the highlights.
Touch the loaded knife edge to the canvas at the top of a ridge on the light side. With very gentle pressure, pull down the mountain face, letting the paint break and skip across the surface. It catches on the high points and skips over the low points, creating a natural pattern of light and shadow.
The Pull Direction Matters
On the light side of the mountain, pull your highlight strokes downward and away from the ridge line, following the natural slope of the mountain face. The angle of your strokes should suggest the actual contour of the rock face ??? steeper near the top, more gradual toward the base.
Leave the opposite side of each ridge dark. This contrast between the bright, highlighted face and the dark shadow side is what creates the three-dimensional illusion. Without it, your mountain will look flat.
Step Three: Shadow and Depth
The shadow side should remain largely untouched ??? the dark base colour serves as the shadow. To enhance depth, mix a small amount of white into your dark colour to create a mid-tone, and apply it sparingly with light knife strokes. Keep the darkest darks near ridge bases and in crevices, with mid-tones on the broader shadow areas.
Step Four: Snow and Ice Effects
For snow-capped mountains, add pure Titanium White to the very peaks and upper ridges. Load just the tip of the palette knife and touch it lightly to the highest points. The snow should be brightest at the very top and gradually thin out as it descends, suggesting that snow clings to the highest, coldest areas and thins as altitude decreases.
For glaciers or snowfields lower on the mountain, use the flat of the knife to gently drag white paint in flowing, downward curves that follow the contours of valleys between ridges. These snow paths should not be perfectly uniform ??? let them vary in width and intensity.
Step Five: Mist and Atmosphere at the Base
One of the hallmarks of a great mountain painting is the misty transition at the base where the mountain meets the landscape below. This effect creates a powerful sense of depth and distance.
With a clean, dry two-inch brush, use gentle horizontal strokes to blend and soften the bottom edge of the mountain. Work the brush in one direction, lifting it at the end of each stroke rather than scrubbing back and forth. The goal is to create a gradual fade from solid mountain into the sky or valley below.
For more pronounced mist, load a clean two-inch brush with a small amount of Titanium White and apply thin, horizontal bands across the base. Blend softly to create wispy, transparent layers that partially obscure the mountain base.
Common Mistakes and How to Avoid Them
- Too much paint on the knife: A thick blob of paint will create a shapeless smear instead of a crisp ridge. Less is more ??? that thin roll of paint on the knife edge is essential.
- Pressing too hard during highlights: Heavy pressure pushes the highlight paint into the dark layer beneath, creating mud. Use a feather-light touch and let the paint skip across the surface.
- Symmetric mountains: Real mountains are irregular. Vary your ridge lines, make one side steeper than the other, and add secondary peaks and foothills.
- Forgetting the mist: Without atmospheric softening at the base, mountains look like they are pasted onto the canvas. Always blend that bottom edge.
- Highlights on both sides: Light only falls on one side. Keep the other side in shadow for a convincing three-dimensional effect.
"The mountain is one of those moments in class where the whole room goes quiet, everyone focuses, and then suddenly there are gasps of delight as the peaks appear. It never gets old." ??? Mark Terrell
If you want to learn this technique hands-on with real-time guidance, check out my online tutorials, book a painting class, or browse the student paintings to see the mountains my students have created. Once you have painted your first mountain, you will want to paint a hundred more.