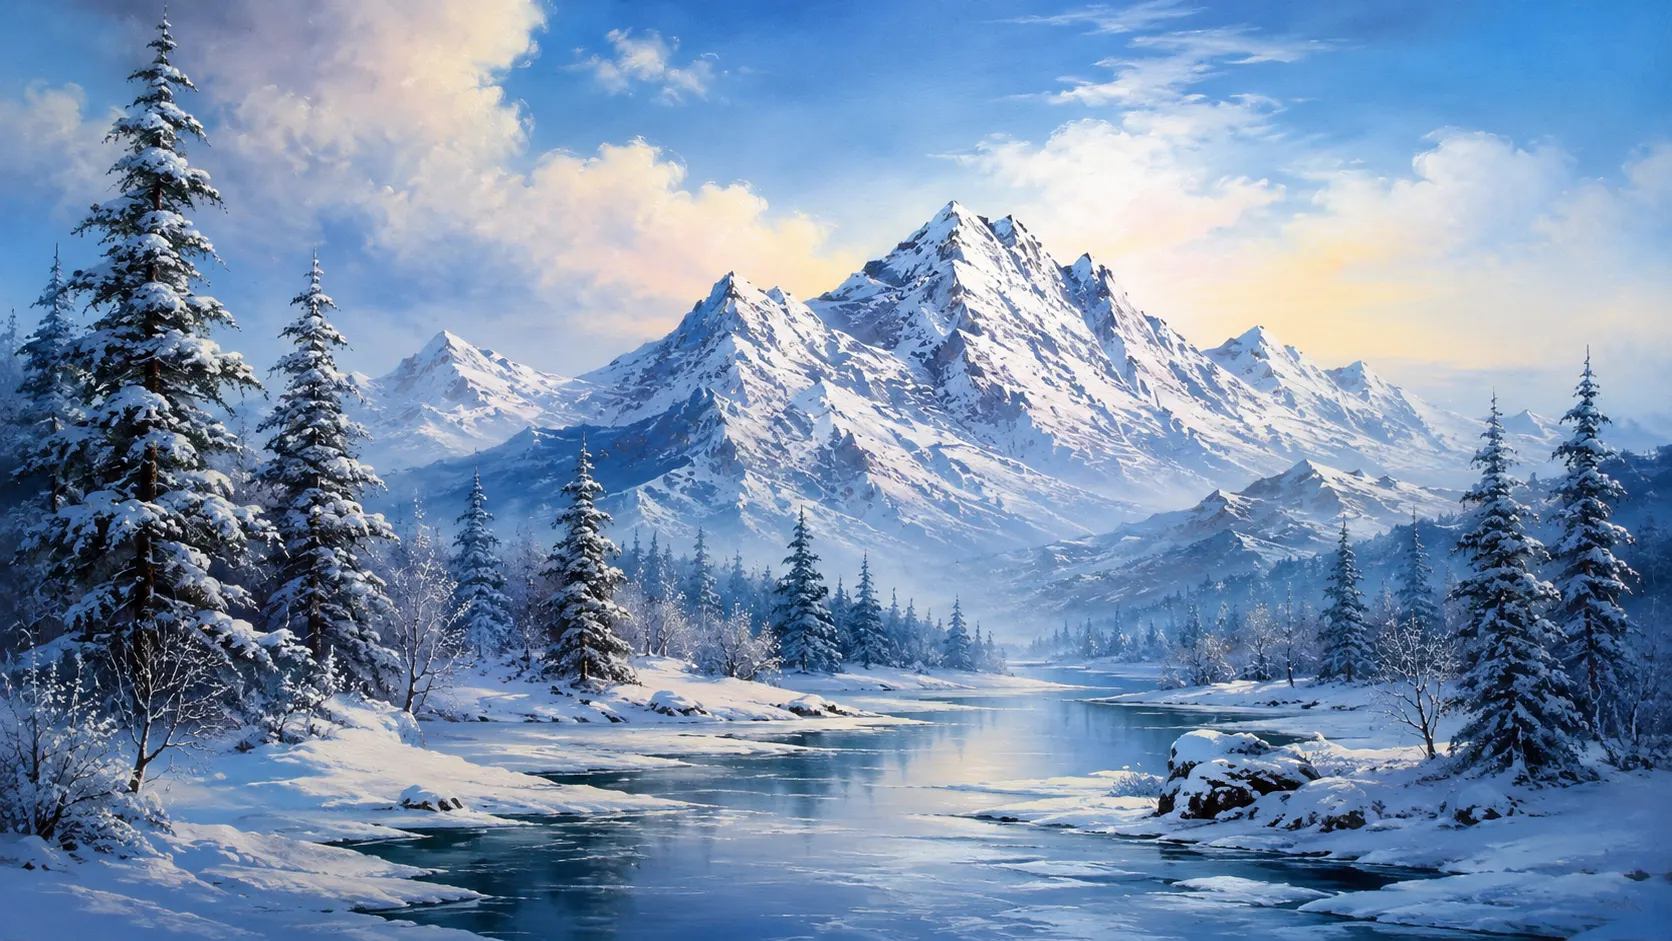
In short: a Bob Ross painting is made “wet-on-wet”: you paint into a thin wet base coat called Liquid White, so the sky, mountains, trees and water blend straight onto the canvas and the whole landscape is finished in one sitting. Here is exactly how to do it.
What you need for a Bob Ross painting
Colours: Phthalo Blue, Alizarin Crimson, Midnight Black, Van Dyke Brown, Dark Sienna, Sap Green, Cadmium Yellow and Titanium White, plus Liquid White for the base coat.
Brushes and tools: a 2-inch and 1-inch landscape brush, a fan brush, a liner (script) brush, a palette knife, odourless thinner, kitchen towel and a pre-primed 16x20 canvas. Not sure what to buy? See the Bob Ross supplies guide for beginners, the Bob Ross brushes guide and the art supplies page.
How to paint a Bob Ross landscape in 7 steps
Step 1: Cover the canvas with a thin coat of Liquid White
Use the 2-inch brush to apply a thin, even layer of Liquid White over the whole canvas, working up and down and then across. It should look wet and shiny, not thick. This base is what lets the colours blend straight onto the canvas.
Step 2: Paint the sky with criss-cross strokes
Load a little Phthalo Blue (and a touch of Alizarin Crimson for a softer sky) onto the 2-inch brush. Starting at the top, make small criss-cross X strokes, letting the colour get lighter as you come down towards the horizon. Blend gently with long, light horizontal strokes.
Step 3: Knife in the mountains
Mix Midnight Black, Phthalo Blue, Van Dyke Brown and Alizarin Crimson on the palette into a dark mountain colour. Cut a thin roll of paint on the edge of the palette knife and push the mountain shape in with firm downward pressure, then blend the base downward with the 2-inch brush.
Step 4: Add snow highlights
Pick up Titanium White (with a touch of Dark Sienna) on the knife and float it over the mountain with almost no pressure, following the direction of the light. Let it break and catch on the paint underneath: the less you press, the better it looks. Use a little blue-white on the shadow side.
Step 5: Mist and distant trees
Tap the bottom of the mountain with a clean, dry 2-inch brush to make soft mist. Then load the fan brush with a dark green and tap in the distant evergreens: start at the top of each tree with the corner, and press harder as you work down so the branches widen.
Step 6: Water and reflections
Pull the colours straight down from the land into the water area with the 2-inch brush, then brush lightly across to create the reflection. Use the knife to cut in a thin line of white mixed with a little blue for the water's edge.
Step 7: Happy little trees and finishing touches
Load the fan brush with Sap Green, Van Dyke Brown and a touch of Cadmium Yellow. Tap in the foreground trees and bushes, add highlights with lighter greens, then thin some paint with odourless thinner and sign your painting with the liner brush.
Beginner tips that make the biggest difference
- Less paint than you think. Thin base, thin sky; save the thick paint for highlights.
- Tap, don't scrub. Trees and bushes come from tapping the brush, not painting strokes.
- Clean your brush between colours. Beat it dry so dark colours don't muddy the light ones.
- Work from the back to the front. Sky, then mountains, then distant trees, then water, then foreground.
- Mistakes are “happy accidents”. While the paint is wet you can scrape it off with the knife and go again.
Want to see it done?
Written steps are a great start, but watching the brush is what makes it click. Get Mark's free Bob Ross style video lesson (over an hour of step-by-step instruction), browse the full online painting tutorials, or learn in person at a one-day Bob Ross oil painting class in Whitstable, Kent, where every brush, paint and canvas is provided.
Curious where the method came from? Read about Bob Ross, his teacher Bill Alexander, and the wet-on-wet oil painting technique. For more detail on individual elements, try the guides to painting Bob Ross trees and painting Bob Ross mountains.
Bob Ross tutorial FAQs
Is there a free Bob Ross painting tutorial?
Yes. This page walks you through a complete Bob Ross style landscape step by step, and you can also get Mark's free video lesson, over an hour of instruction, by entering your email on the free lesson page.
What do I need to paint like Bob Ross?
Liquid White, eight core oil colours, a 2-inch and 1-inch landscape brush, a fan brush, a liner brush, a palette knife, odourless thinner, kitchen towel and a pre-primed 16x20 canvas.
How long does a Bob Ross painting take?
Bob Ross finished his paintings in under 30 minutes on TV. As a beginner, allow 2 to 4 hours for your first one. In a one-day class you will finish a full landscape with time to spare.
Is the Bob Ross technique good for beginners?
Yes. Wet-on-wet painting is one of the most beginner-friendly ways to start with oils, because colours blend on the canvas and mistakes can simply be painted over while the paint is wet.
Why does my Bob Ross painting go muddy?
Usually too much Liquid White, too much paint on the brush, or not cleaning the brush between colours. Use a thin base coat, tap the brush rather than scrub, and beat the brush clean on a rack or towel.
Where can I learn Bob Ross painting in person?
Mark Terrell, a Bob Ross Certified Instructor, runs one-day classes in Whitstable, Kent, with all materials included. Most beginners say a class is the fastest way to learn the brush handling.